
Related Article
.png)
.png)
.png)


.png)
.png)


Bugs/errors that often occur on MacBooks with the macOS Big Sur operating system.
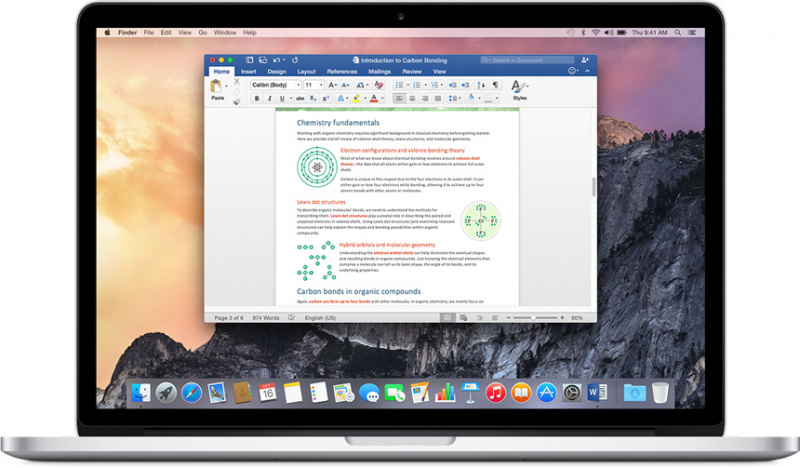
macOS Big Sur is the 17th major release of macOS, the Apple Inc. operating system. for Macintosh computers, and is the successor to macOS Catalina. macOS Big Sur was launched on November 12, 2020. Of course, one of these operating systems will not be free from problems or issues like those that are often found on most other laptop devices. Errors or bugs are the most common problems that MacBook users encounter with macOS Big Sur as the operating system. This, of course, greatly interferes with the activities that macOS Big Sur users do with their devices.
In this article, Zapplerepair will discuss how, anyway, how to solve the problem of bugs or errors that occur on your MacBook device that uses macOS Big Sur as the operating system? Let's see the article below!
Well, if your MacBook, MacBook Air, or MacBook Pro device uses macOS Big Sur as the operating system, and you encounter bugs or errors when using it, we recommend that you reinstall the operating system to the previous version of macOS, namely macOS Mojave or macOS Catalina. .
Then how to do it?
There are two ways that you can do, namely re-installing macOS Catalina without using a flash or using flash media. Here we describe the steps:
Before you download and install the macOS Catalina operating system, you must ensure that the Mac or MacBook that you will use to reinstall the operating system can run the latest software, or we can call it compatible.
The good news is that if you have macOS 10.14 Mojave installed on your Mac or MacBook, your device will be able to run macOS 10.15 Catalina.
Here's a complete list of Apple Macintosh devices compatible with the macOS Catalina version:
Whenever you plan to move to a new operating system, we highly recommend backing up your data or backing up the files on your Mac. This is done because if an error occurs in the process, you can easily restore to the initial format of the device and the important files on it.
So before you download and install macOS Catalina, make sure your data on your Mac is backed up.
If you intend to re-install on an Apple device, then you must know how to backup data in Time Machine. What is Time Machine? Time Machine is a built-in Apple feature built into Mac OS X or Mac OS. This feature can be accessed via spotlight, launchpad, and system preferences. Time Machine functions to back up all data including local files to backup the entire system.
Here's how to backup data using Time Machine:
1) Prepare an external hard drive, then connect your Mac device to USB. After that, a notification will appear on your device that Time Machine wants to use this entire hard drive.
2) If you do not want to create a whole hard drive for Time Machine, then create a special partition for Time Machine.
3) To create a Time Machine-only partition, create a partition in the Disk Utility menu.
4) Set the partition size to at least 500 GB (or the equivalent according to the size of the SSD), then name it "Time Machine".
5) Open Time Machine: Apple > System Preferences > Time Machine > click Select Backup Disk > Select the hard drive partition that was created earlier, click Use Disk > Time Machine will start the backup process.
Keep in mind that this backup process will generally take a relatively long time. The time it takes to back up data depends on the size of the entire file and the speed of data transfer.
You can download and install a version of macOS Catalina from the App Store on your Mac device. Open the App Store in your current version of macOS, then search for macOS Catalina.
Click the button to start the installation process, and when a window appears, click “Next” to start the process.
You can also visit the macOS Catalina website, which displays download links to install the software onto a compatible device. This will download macOS Catalina to your Applications folder. When it's done, the installer will open, and you can follow the on-screen instructions to install macOS Catalina on your Mac.
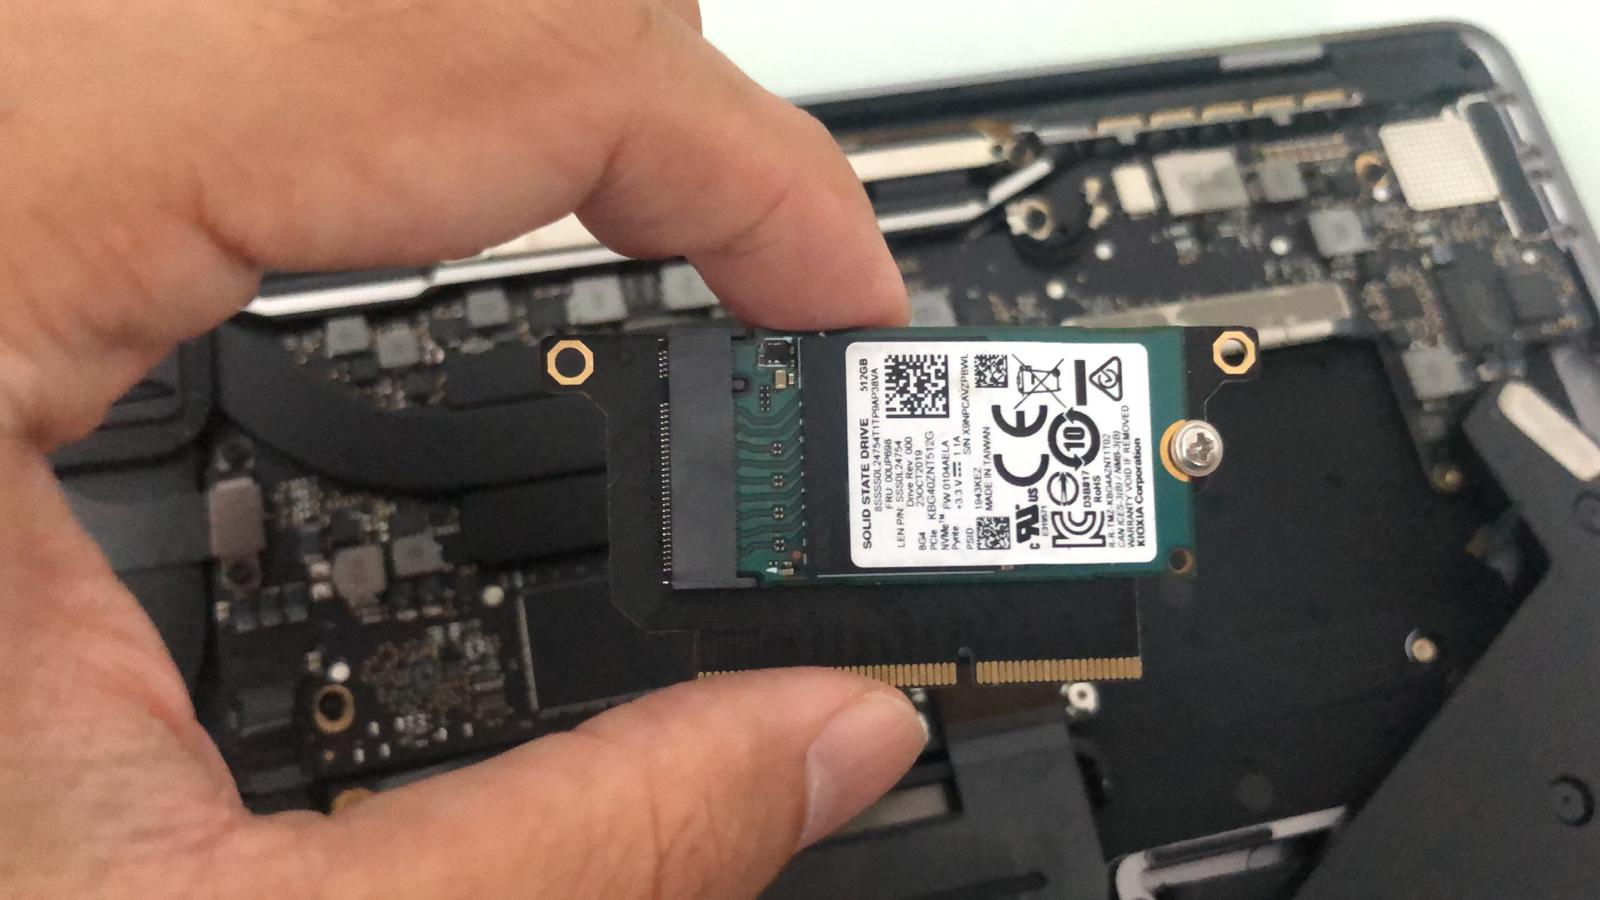
Disk Utility can help you find and fix errors related to disk formatting and directory structure on your Mac (iMac, Mac Mini, Mac Pro, Macbook, Macbook Pro, Macbook Air). Disk errors can cause an unexpected error to occur when using a Mac.
If you can't see your disk in Disk Utility, it won't show the containers or volumes on that disk either. To resolve this error, follow these steps:
Before proceeding, make sure you have backed up your important data just in case you need to recover corrupted files or Disk Utility encounters an error that cannot be fixed.
So how to Solve Disks Not Appearing in Disk Utility Mac? Check out the steps below!
1. The first is to first turn off your Mac device, then disconnect all peripheral devices connected to the Mac.
2. If you're repairing an external drive, make sure it's connected directly to your Mac using a working cable. After that, turn off the drive and turn it back on.
3. If the disc still doesn't show up in Disk Utility, your Mac may need to be checked by a technician. You can contact us for further consultation with Zapplerepair via our WhatsApp at 0877-8885-5868.
Those are the steps to Solve Disk Not Appearing in Mac Disk Utility. To continue the installation process, follow the steps below!
macOS Catalina has system compatibility requirements for Macintosh computer devices that will use this latest operating system. However, if you were previously a user of OS X Mavericks or versions up to macOS Mojave, it is guaranteed that there will be no compatibility issues to upgrade to the Catalina version of macOS. So what are the system compatibility requirements for installing macOS Catalina on Mac devices?
The following describes the requirements to be able to upgrade or install the operating system to macOS Catalina:
If your device meets the above compatibility requirements, you can continue to follow our guide below to carry out the macOS Catalina installation process.
First of all, you need a bootable flash drive or flash drive that has macOS Catalina on it.
Steps to boot with a flash drive:
At this stage, we will prepare the disk that we will use as a place to put or store the macOS system. Select Disk Utility by pressing the down arrow key on the keyboard.
After setting up your MacBook, it's time to restore data and information that was previously backed up using Time Machine. So how to do it? Check out the steps below!
If you need data recovery from backup use Time Machine. You can use the help of the Migration Assistant to restore personal files, including applications and all information in user accounts that were previously backed up using Time Machine.
Then how to Restore Mac Backup from Time Machine Using Migration Assistant? Check out the full explanation below!
1. Make sure that your Mac device does not require a reinstall. If your Mac needs a reinstall, read the following article, How to Reinstall the new Mac OSX Software on your Mac.
2. Make sure the Time Machine backup disk is connected to your Mac and turned on.
3. Open Migration Assistant on your Mac. The application is located in the Utilities folder in the Applications folder.
4. When a question appears about how to transfer data, select the following options: transfer from Mac, Time Machine backup, or startup disk. Then click Continue.
5. Select a Time Machine backup, then click Continue.
6. Select a backup, then click Continue.
7. Select the data you want to recover.
8. Click Continue to start the recovery. Recovery of large files may take several hours to complete.
Those are the steps of Restoring a Mac Backup from Time Machine Using Migration Assistant. Now your MacBook device with the new operating system, macOS Catalina, is ready to use without errors and bugs!
Tip: You may be prompted to sign in with an administrator name and password during the installation process, so make sure you memorize your Mac's administrator account information.
Those are the steps from MacOS Big Sur Bugs/Error Troubleshooting Solution on MacBook. Hope this article helps!
If you have any problem with your Surface or Apple device, kindly contact us at +6583888781 or visit singapore.zapplerepair.com