How To Disassemble the Google Pixel LCD

How To Disassemble the Google Pixel LCD

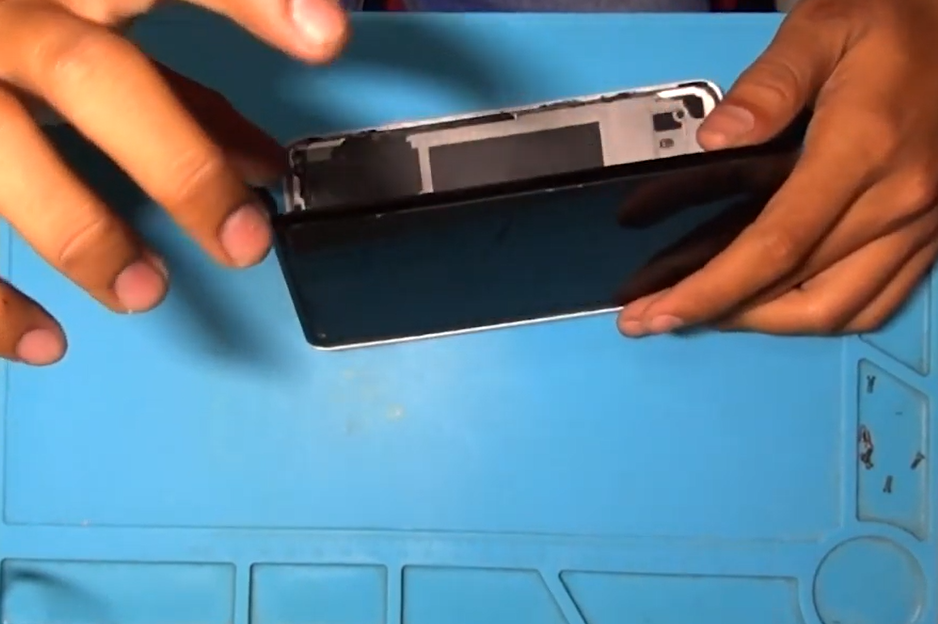
Disassemble the Google Pixel LCD..

Disassembling the Google Pixel LCD is not easy, because the Google Pixel LCD is one of the few LCDs that is prone to damage if the technician is not very careful to disassemble it. The other components behind the Google Pixel LCD are of various types, and the most common being replaced is the battery. In the following, we will present how to replace the Google Pixel LCD which is good and definitely SUCCESSFUL?


Required tools:

  • T-5 screwdriver
  • Suction Cup
  • Tweezers/tweezers
  • Prying Tool
  • Spudger
  • Heat Gun


Step :

  1. Heat the LCD using a heat-gun on the side that is not exposed to the Touchscreen. Be careful when using a heat gun when heating the Google Pixel side Bazel.
  2. Use the Prying Tool to cut the adhesive very carefully, when cutting the adhesive on the top screen don't force the Prying Tool more than 1 cm into the machine, when you want to remove the bottom LCD, be careful not to go too deep to cut the adhesive because there is a Flexicable Touchscreen / LCD which is very easy to cut. It is recommended to open Google Pixel LCD photo for reference. Next, remove the adhesive on the side bezel with extra care. Have a look at the Google Pixel LCD photo for reference.
  3. After the Adhesive LCD is removed, gently lift and remove the screw that secures the Flexicable LCD to the Motherboard.
  4. Remove the 9 screws that secure the Daughterboard. And then disconnect the Battery from the motherboard.
  5. To release the Daughterboard use the Prying Tool to open the existing Clip locking the Daughterboard slowly and don't force it because the Daughterboard is made of plastic and is more likely to break.
  6. After successfully lifting the Daughterboard, do not immediately lift it off because there is a Flexicable Camera, please use the Flexicable Camera using a Spudger, then remove the Flexicable that connects the upper motherboard and the lower motherboard.
  7. After the Flexicable connector is removed, you can only start removing the battery from the Cassing using a Spudger carefully.
  8. After you have succeeded in replacing the Google Pixel Battery, all you have to do is assemble the Unit based on the steps above.


We accept repair and replacement of spare parts for all versions of Google Pixel such as Google Pixel battery replacement, Data recovery from Google Pixel, Google Pixel LCD Screen Repair, and so on. We also provide complete and original spare parts, which are supported by professional repair experts. In addition, we have years of experience in IT repair, which makes us the best Google Pixel service place in Jakarta.